Editing a comedy sketch with CapCut Creative Suite

When British Comedy Guide launched, there was essentially no such thing as an online video. Now, in 2023, with broadband pretty much everywhere, and cameraphones managing to capture HD-level pictures, that has all changed. There are millions of online comedy sketches on YouTube alone.
If you're thinking of filming your own sketch, you should consider using good editing software. With the emergence of AI video editing tools, we are witnessing a revolutionary shift that is streamlining processes, enhancing creativity, and paving the way for unprecedented possibilities. Video creation, once a labour-intensive and complex task, is now becoming more accessible and innovative.
Among these cutting-edge tools stands the CapCut Creative Suite, an all-in-one solution that merges AI's capabilities with the art of video editing. So, if you are a beginner video editor or searching to try out a new online photo editor, this one is for you!
With Creative Suite, you can effortlessly dive into video editing without downloads, and the best part? There are no hidden fees or premium charges, making high-quality editing available to everyone with an internet facility, anytime.
Step-by-step guide to using CapCut Creative Suite to edit videos
Following are the detailed steps to edit your videos seamlessly and make your editing experience much better.
Step 1: Sign In
Start by visiting CapCut's official website. Once there, navigate to the "Tools" category, where you'll discover the "Online Creative Suite" option. Clicking on this option will smoothly redirect you to the creative suite's main page. Prominently displayed at the top is the "Sign up for free" button.
By pressing this, you'll be presented with options to create a new account or sign in. For ease and convenience, CapCut offers integration with several popular platforms, allowing users to sign in using their Google, TikTok, or Facebook accounts. This seamless process ensures that you can dive right into crafting your video masterpiece without any unnecessary delays.
Step 2: Upload your video
Initiating a new project is as simple as clicking "Create New" or "Upload". Browse through your device's folders and select the video files you wish to spruce up. CapCut online version provides you with various options to upload videos from cloud storage such as Google Cloud or Dropbox. Once uploaded, these files are ready for the transformative magic of editing.

Step 3: Basic trimming
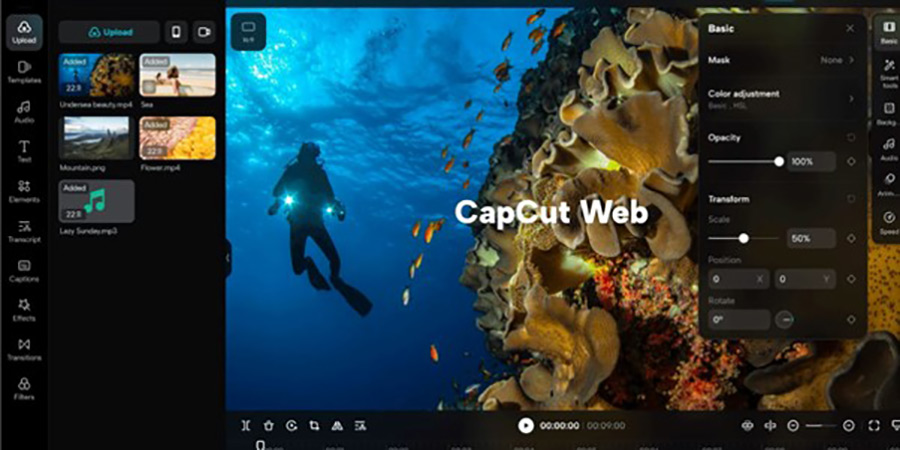
Upon uploading your video to CapCut, it will be displayed on the editing timeline, providing a clear view of your video's sequence. For basic trimming, simply hover over either the beginning or end of your video segment on this timeline. When you notice a handle or an arrow cursor appear, click and drag it to effectively trim out any undesired sections, ensuring your video remains succinct and to the point.
Step 4: Adding transitions
But the magic doesn't end there. To seamlessly blend different segments, CapCut offers a range of transitions. By simply clicking the space between two clips on your timeline, a menu pops up showcasing various transition effects. Choose one that complements your video's mood and pace, and watch as your clips flow smoothly from one to the next, elevating your video's professional touch.
Step 5: Insert text
Make statements with the 'Text' feature on the left sidebar. Whether it's annotations or headings, customize them with choices of fonts, sizes, colors, and animations. Drag your text to the desired spot, ensuring viewers can read it easily. Also, you can try the video to text feature to automatically transcribe video to text for free in seconds.
Step 6: Apply filters & effects
A video's mood, tone, and visual appeal can be dramatically enhanced using CapCut's array of filters and effects. After selecting the desired clip in the timeline, you'll find dedicated icons, typically labeled 'Filters' or 'Effects' on the sidebar. By clicking on any of these, a vast palette of options unveils itself. From vintage hues that evoke nostalgia to dynamic effects that bring a cinematic flair, CapCut online empowers creators to apply their unique touch effortlessly. Each filter and effect can be previewed in real time, and adjustments can be made to their intensity and parameters.
Step 7: Add audio or music
Elevate emotions with the right background score or voice narration. Click the 'Music' or 'Audio' icon to explore CapCut's library or upload your unique sounds. Once added, remember to adjust its volume and position for the perfect mix.
Step 8: Export & save
After refining your masterpiece, it's time to share it with the world. Hit the 'Export' button, choose the resolution and format that suits your needs, and either save it locally or prepare it for online sharing. If the video size is a problem, you can compress the video with the free video compressor to any size without significant quality loss.
Step 9: Review & share
Before making your video public, give it a final watch. Ensure everything aligns with your vision. Once content, make the most of CapCut's integrated sharing options. Whether it's YouTube for global reach, Instagram for business, or Facebook for friends and family, pick your platform and let your creation shine.
Some other tools and options in Creative Suite to take your videos to the next level
Beyond the basics, CapCut's Creative Suite boasts a myriad of advanced tools and options, ready to elevate your video creations from ordinary to extraordinary. Dive into these enhanced features to unlock new dimensions of storytelling and visual appeal.
1: Various templates with no watermark
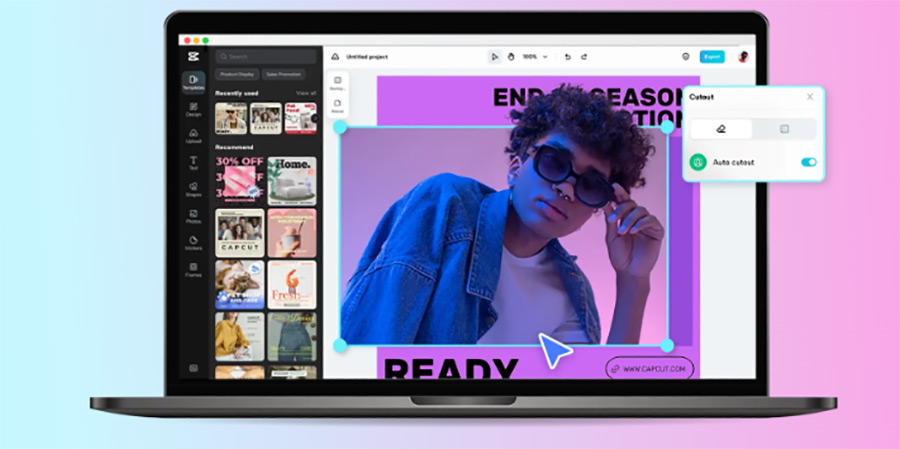
Gone are the days when you had to grapple with pesky watermarks marring your beautiful content. CapCut's template library not only offers a diverse range of personal and professionally designed templates to enhance your video's aesthetics, but they also come without watermarks, ensuring your final output remains clean and focused.
2: Smart tools
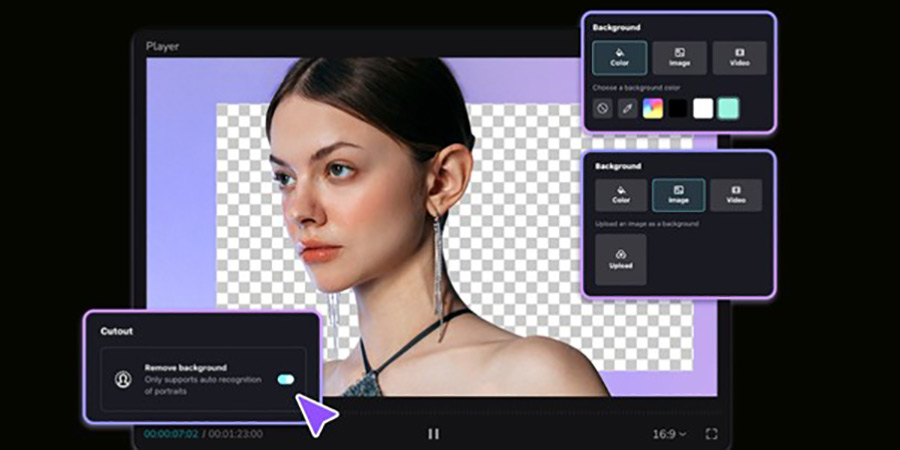
Background Remover: Instantly isolate subjects from their backgrounds, perfect for emphasising a particular element in your comedy sketch.

Image upscaler: Enhance your images within the video, ensuring they remain crisp, clear, and high-quality, even when viewed on larger screens.
AI portrait generator: This tool, powered by artificial intelligence, can generate portraits or transform existing ones, adding depth, modifying lighting, or even changing the overall ambiance.
There are many more smart tools like script-to-video generators, etc.
3: Creative cloud and team collaboration
Team management: Centralise your video editing tasks by adding team members, assigning roles, and streamlining the collaboration process.
Cloud backup: Never worry about losing your progress. With CapCut's cloud backup, all your edits and projects are safely stored and accessible from any device.
Manage files: Organise, sort, and categorise your files within the online application, making it easier to access previous
projects or reuse assets.
Video sharing: Seamless integration with various platforms allows you to directly share your creations, ensuring your content reaches its intended audience without a hitch.
Conclusion
Using the CapCut creative suite for video editing provides an unparalleled blend of simplicity and power for comedy projects. Its intuitive interface, paired with advanced features, ensures that creators, regardless of their experience level, can transform their visions into cinematic realities with ease and precision. Whether you're looking to produce memorable home movies, captivating social media content, or professional-quality videos, this guide offers a solid foundation upon which you can build your editing skills and create stunning visuals.
